GEAR
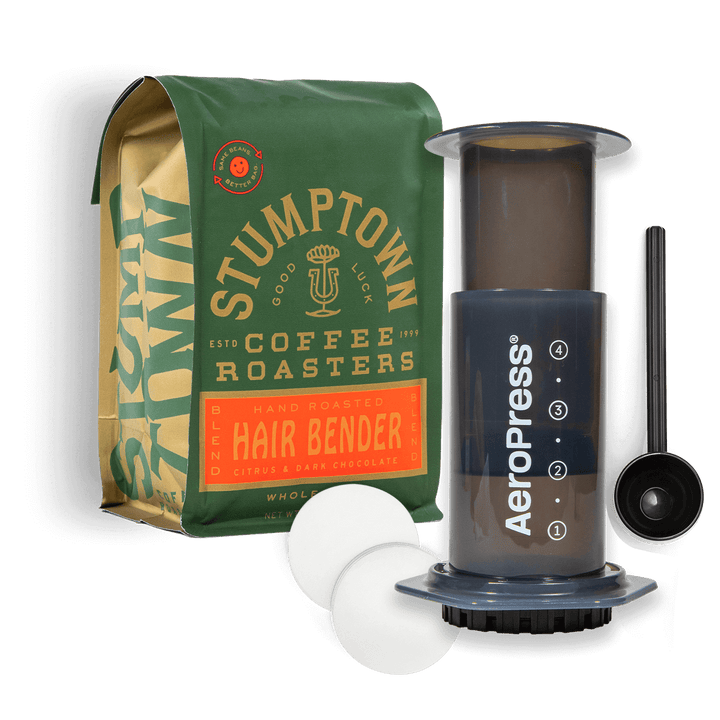
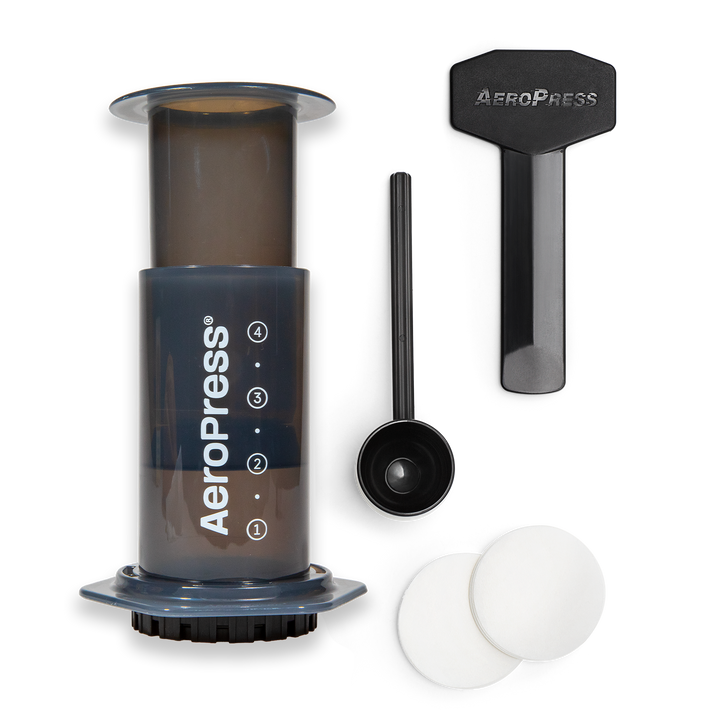
AeroPress Original Coffee Maker
There's lots to love about the AeroPress Original coffee maker. It's portable, lightweight, and it brews a sweet,...

How to Brew Coffee with an AeroPress
The AeroPress has been a favorite brewing method since it was invented in 2005 by engineer Alan Adler. Lightweight, durable, and endlessly travel-friendly, it’s beloved by coffee nerds and campers alike.
We recommend the AeroPress for coffee that’s sweet, full-bodied, and clean. With the right grind size, water ratio, and timing, this little brewer can make an incredibly balanced cup in just a few minutes.
Follow our AeroPress brew guide below to learn the Stumptown method for dialing in your grind, pouring with precision, and pressing your way to a great cup, whether you're brewing at home or on the road.
Brew Time About 4 Minutes
AeroPress brewer, filters, paddle and scoop
Grinder
17g (or 1 AeroPress Scoop) ofStumptown coffee
Hot water just off the boil (about 205°F)
Scale
Timer
Stumptown Diner Mug

Simple guidance for a great cup
Follow along step by step and see how it comes together


Get The Gear
AeroPress Gear
There's lots to love about the AeroPress Original coffee maker. It's portable, lightweight, and it brews a sweet,...


These filters are the perfect fit for the beloved and trusty AeroPress Original coffee maker.
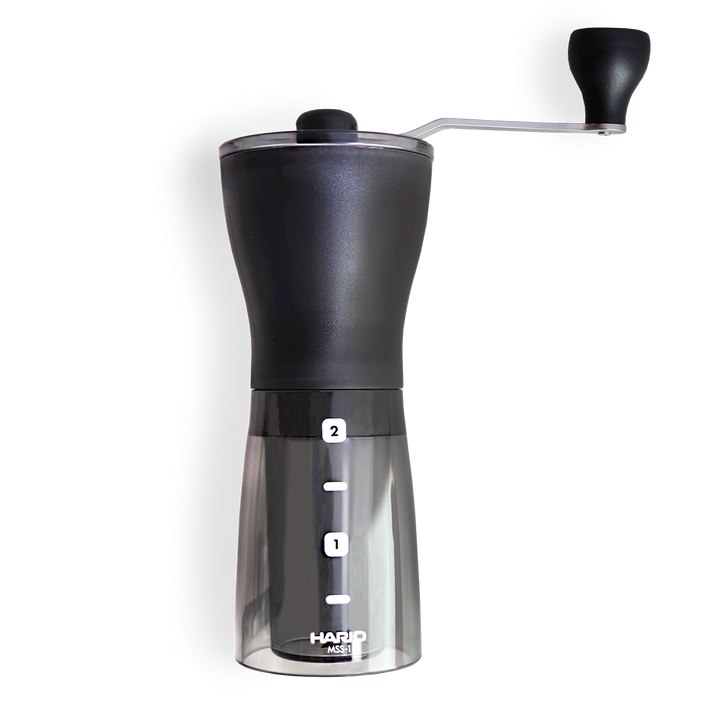
Compact, ergonomic and everything you have been looking for in a hand grinder. The Hario Mini Slim Plus...
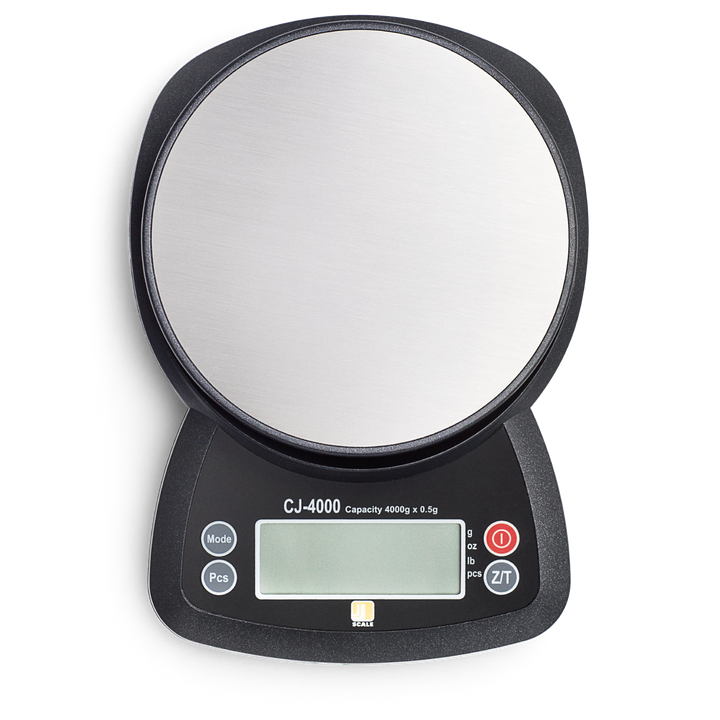
Different types of coffee have different sizes and densities, so weighing your coffee is a foolproof way of...
All Coffee Gear
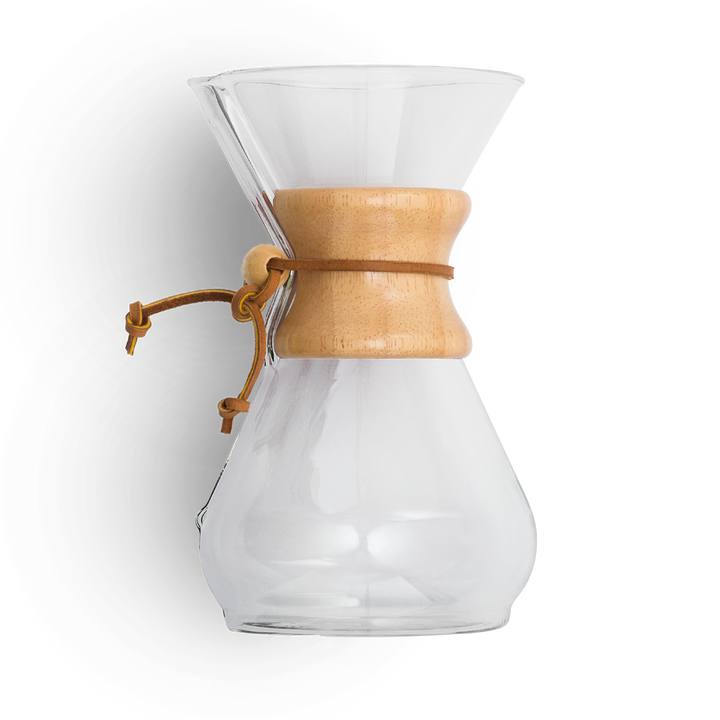
An iconic brewer with a timeless design, the Chemex lives on kitchen counters around the world and has...
There's lots to love about the AeroPress Original coffee maker. It's portable, lightweight, and it brews a sweet,...
The ultimate bundle for the ultimate outdoorsy type, equipped with a travel-friendly AeroPress brewer and a 12 oz...
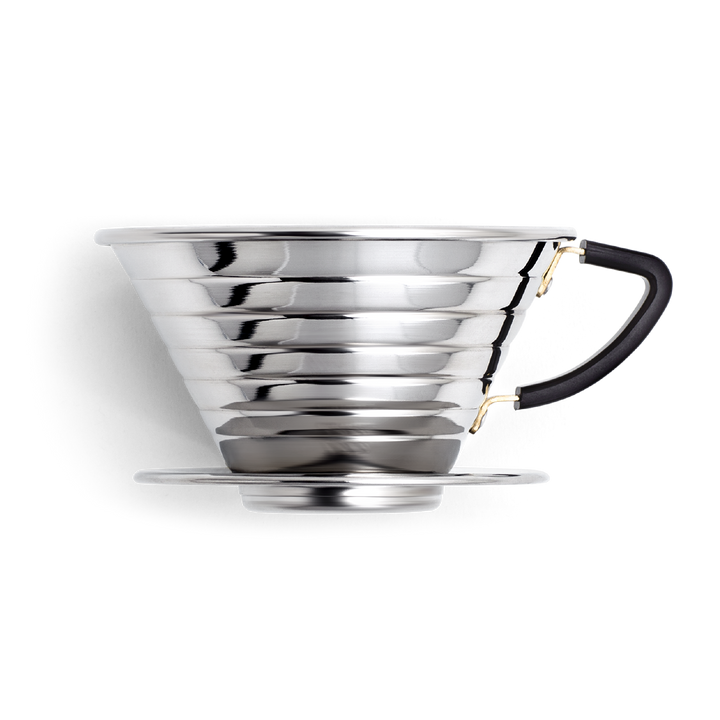
Want a clean, even extraction every time? Then the Kalita Wave is the pour-over brewer for you.
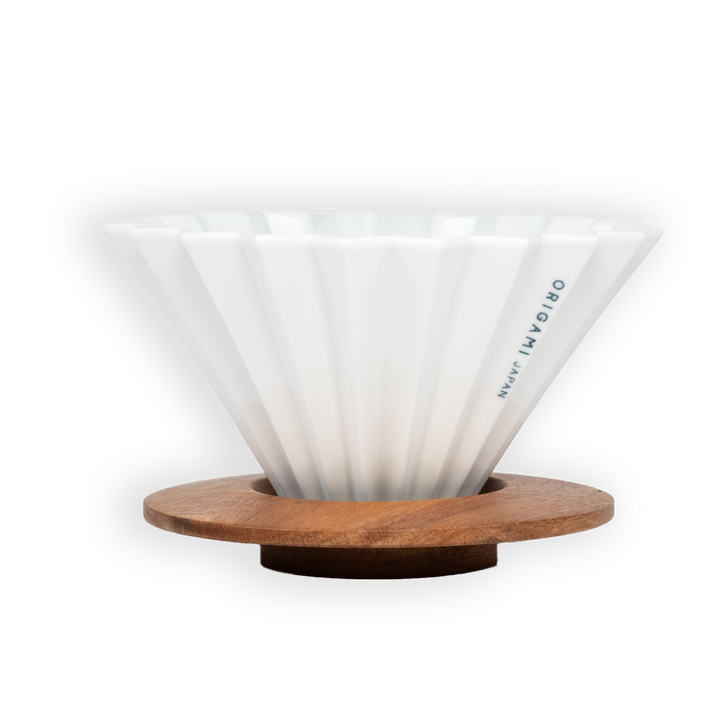
With its arresting angles and prismatic array of colors, the Origami has quickly become the go-to brewer for...
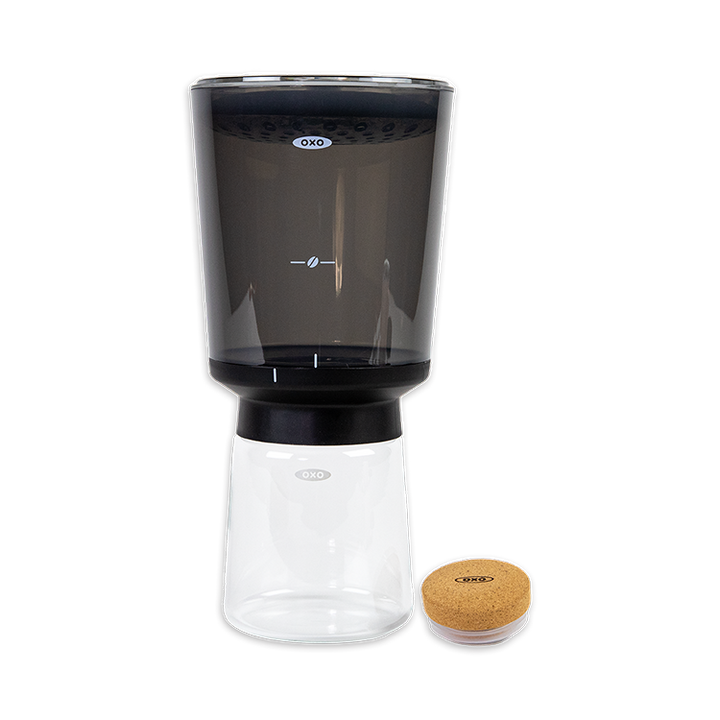
Brew cold brew at home with the Oxo Compact Cold Brew Coffee Maker. With this in your collection,...
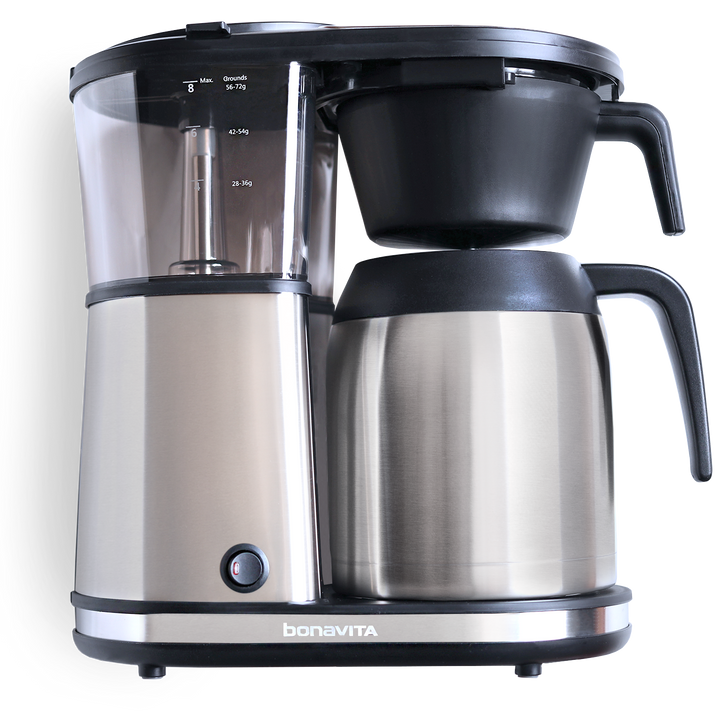
Brews coffee for a crew that tastes like you hand-poured each cup. The Bonavita does it right with...
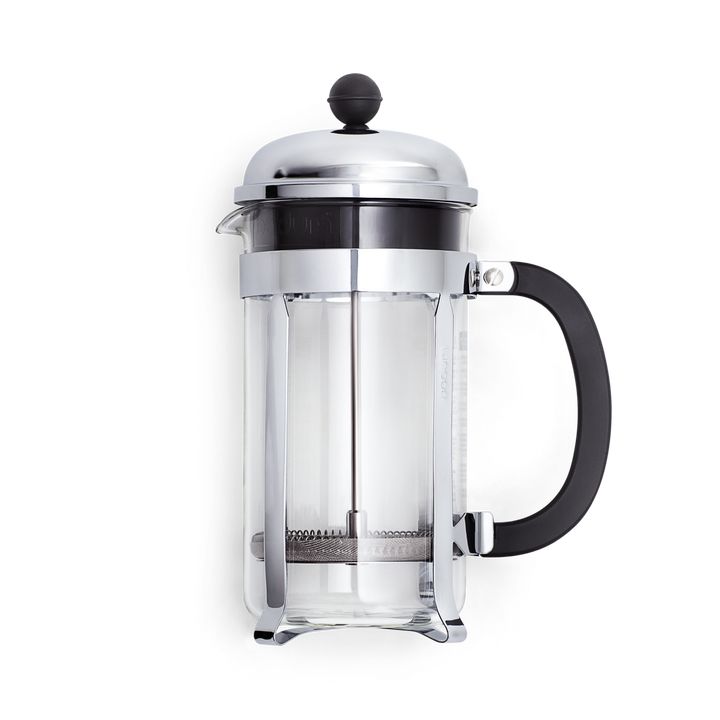
If you’re boldly going for it, this is your new best friend. You get the most of everything...
Compact, ergonomic and everything you have been looking for in a hand grinder. The Hario Mini Slim Plus...
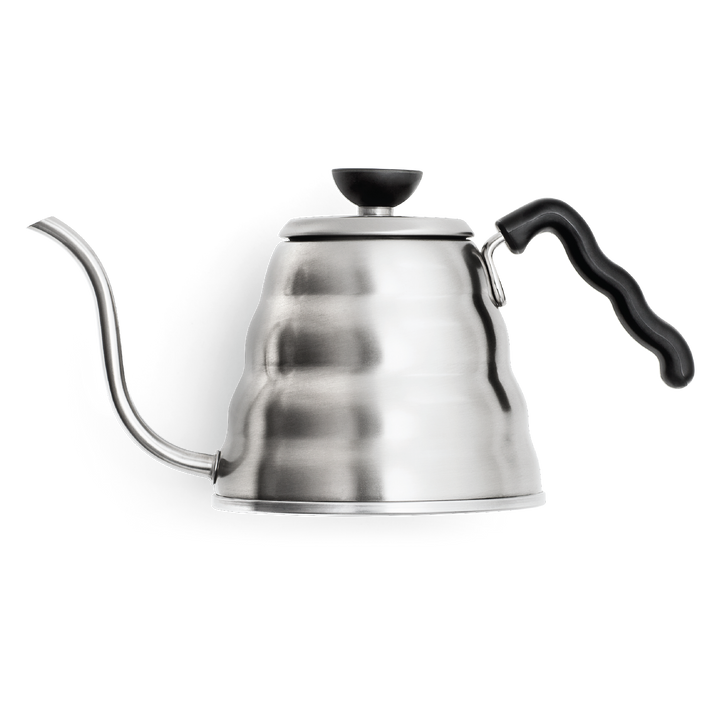
If your morning pour includes firing up the stovetop burner, then the Hario V60 "Buono" Drip Kettle is...
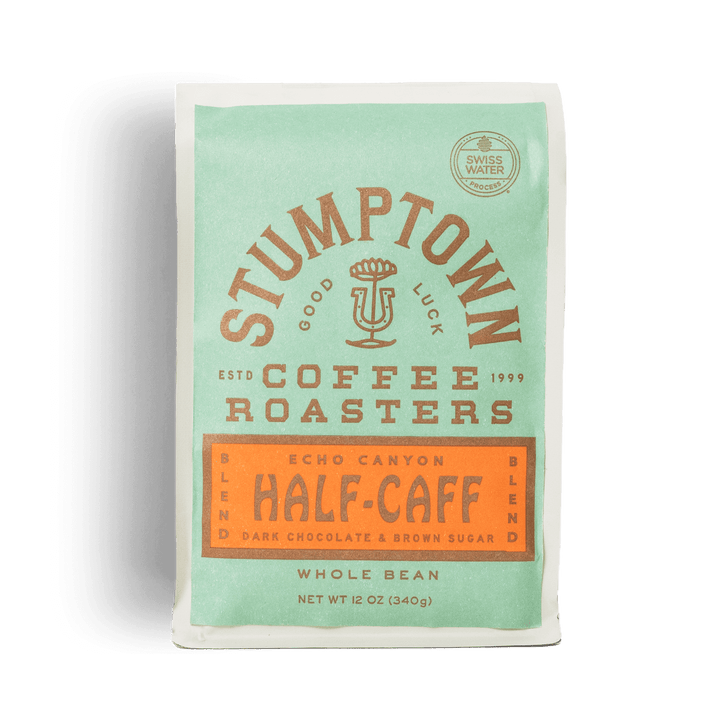
Signature Blends

Dark Chocolate, Brown Sugar, Dried Fruit
Clove, Bittersweet Chocolate, Toasted Marshmallow
Get emails on product releases, promotions, cool coffee news, and other secret notes.
*By signing up, you're giving Stumptown permission to send email updates. Opt out anytime.